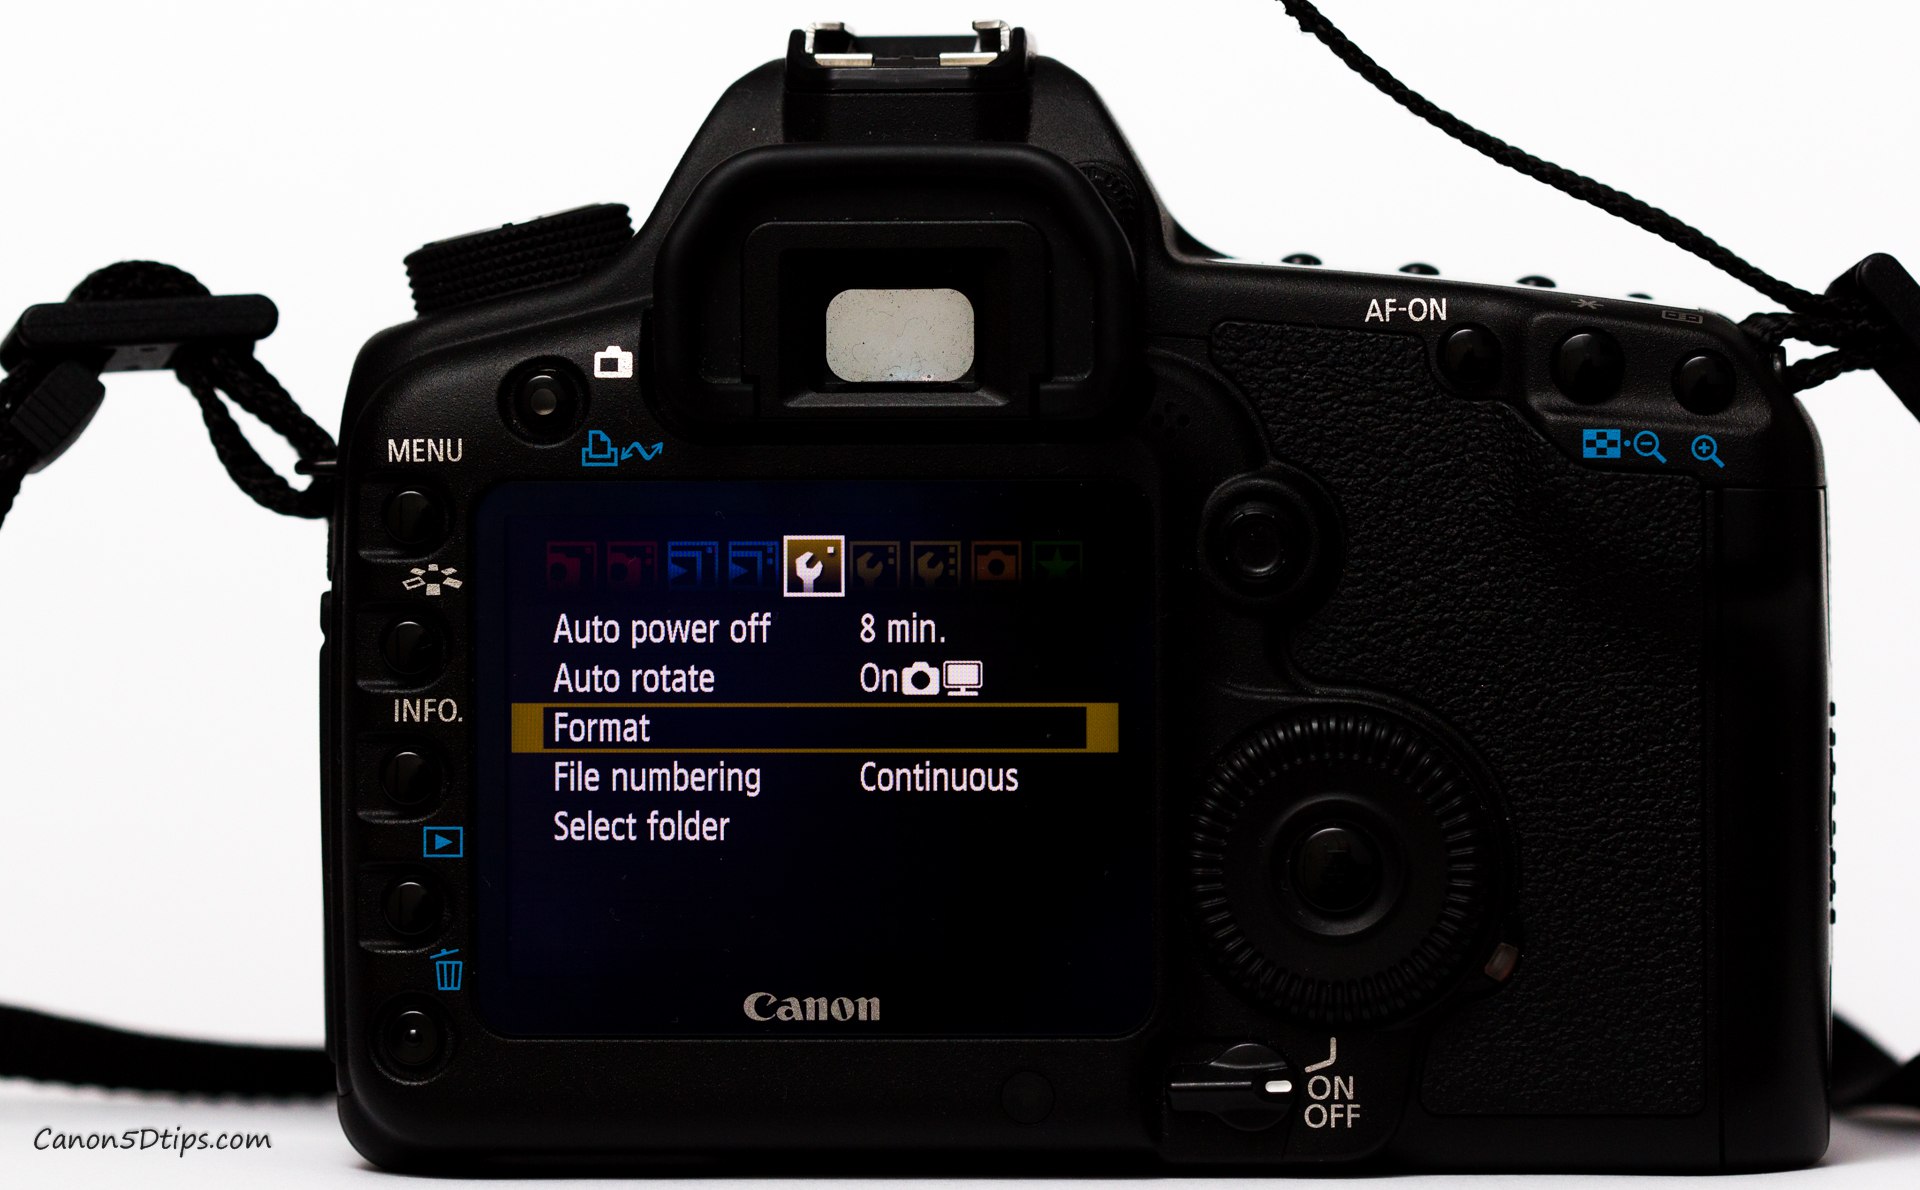
Original reason for this article was the Technicolor profile, which is available here (Read Vincent quick review)! The only problem is that you need to have EOS Utility installed on your computer.
If you are like me, you threw the Canon CD away as soon as you opened you 5D Mrk II box. No problem you think, I just have to download the app from the Canon site. Problem is that Canon is only providing an updater, not an installer. Basically this means that you can only update your app, not install it. Luckily they made changes to this issue for Windows users, but problem persisted with the Mac users. But don’t worry we have solution.
Solution for OS X users
After 2.14 version of the EOS Utility Updater, you will not be able to use old tutorial that worked flawlessly so far, but there is a way to install newest and current version: 2.14.20a to your latest MAC OS X.
Older Mac OS X users have option to download Solution Disk Software which includes EOS Utility as well.
MAC OS X 10.11.x – El Capitan – WORKING
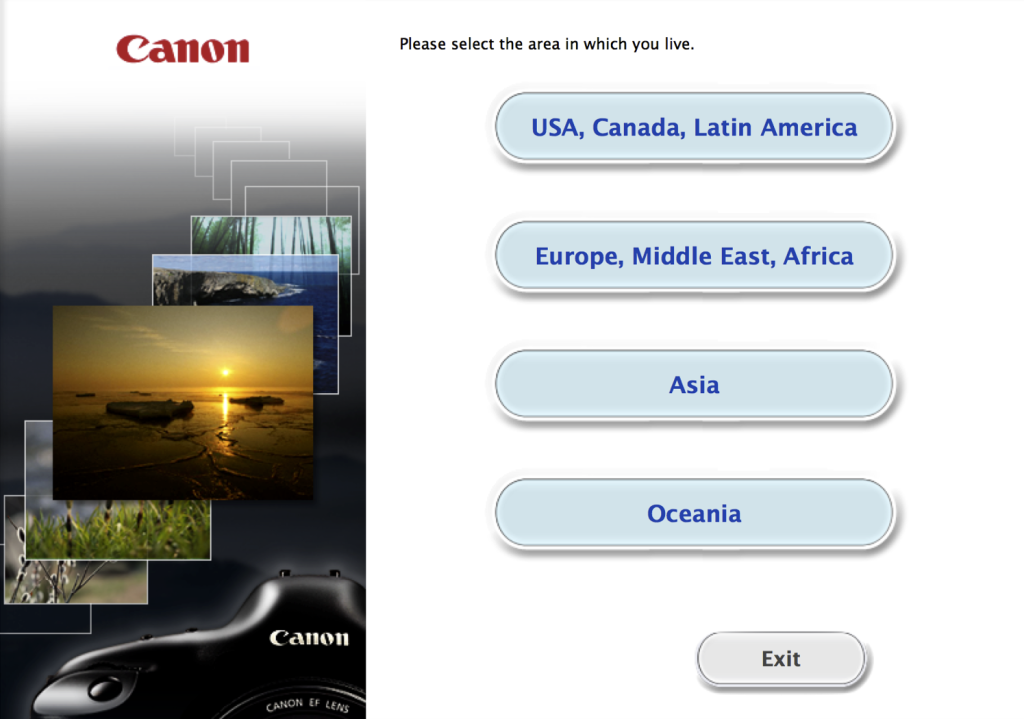
- Go to Canon USA or even better, Canon UK site (where you can pick your DSLR from list)
- after you chose your camera, click on the Software
- pick Operating System: OS X Lion 10.7
- Under Software you should find and Download old EOS Utility 2.14.0 – zip file
- Unpack it to the Desktop and then click on .dmg file to mount it
- Make New Folder on your Desktop
- Copy all contest (enable hidden files) to New Folder you made on Desktop
- Important step: Run it, you will get this “error”:
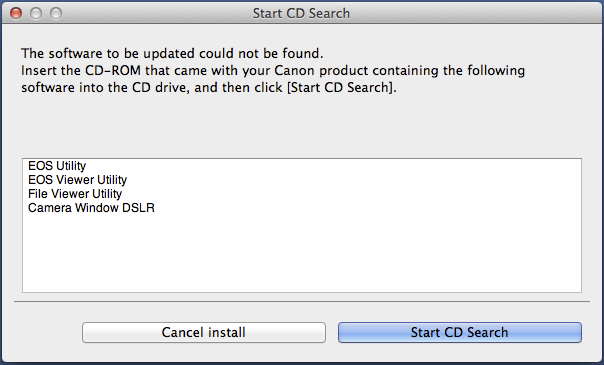
- Close this window
- Click on the EU2.14.0X_updater and pick: ‘Show Package Contents‘
- Navigate to ./Contents/Ressources/
- edit with any text editor Info.datx file
- delete whole content from the Info.datx file
- SAVE EMPTY Info.datx file
- Run updater again, it will install 2.14.0 version, but we are not done yet…
- Now pick Operating system El Capitan 10.11
- Download latest 2.14.20a EOS Utility Updater
- And just run it! That is it, your EOS Utility will update to the latest version!
MAC OS X other versions than Mavericks
This steps doesn’t work for Mavericks, read above and do the rest from this steps (and replace newest with older EOS Utility Updater):
- Files you downloaded are compressed in the single file: eu2.13.40x-updater.dmg.zip
- After download it will automatically mount (if it doesn’t: unzip and mount)
- Open EU2.13.40 – disk mount
- Make New Folder on the Desktop
- Copy whole content from mounted EU2.13.40 to the new Folder you just made
- Click on the EU2.13.40X_updater and pick: ‘Show Package Contents‘
- Navigate to ./Contents/Ressources/ and delete the Info.datx file
- Navigate back and run the EU2.13.40X_updater
- Follow Installation instructions and you are done[/su_note]
If above instructions doesn’t work, you might give this a try:
Download the appropriate files from Canon for your camera and follow steps:
- Files you downloaded are compressed as “.zip” or “.gz” files
- Double click on the file and it will expand to the disk image file extension “.dmg”
- Click on that image file, it will mount it as disk
- We should copy (extract) UpdateInstaller to our disk
- Eject disk image
- We will modify UpdateInstaller
- Click on UpdateInstaller and go to “Show Package Contents”
- It will open new window with Contents
- Navigate to Contents/Resources and find the SDI.bundle file.
- Click on the SDI.bundle and ‘Show Package Contents’ again
- Now navigate to Contents/Resources and locate a file called update.plist
- Delete update.plist file
- Close opened windows and run UpdateInstaller it should install now!
Note: Once you made this, no need to do it over again for new updated versions of Software.
Older solution:
- Download the EOS Updater (5D Mark II)
- Open the file and copy the ‘updateinstaller’ file on your desktop
- Right-click on the file and select ‘show package contents’
- Browse to content/resources
- Right-click on the file ‘SDI.bundle’ and select ‘show package contents’
- Browse the content/resources
- Delete update.plist
- Close all the windows and double click the installer.
Solution for Windows users
If you want EOS Utility on the Windows 7 and you lost or trow away your disk, you have two options:
1. Go to official canon site, find your camera and Download EOS Digital Solution Disk Software located under Software (link for 5D Mark II here)
(it will ask you to input your Camera serial prior downloading)

Description: EOS Digital Solution Disk Software” is a software suite containing the applications “Digital Photo Professional”, “EOS Utility” and “Picture Style Editor”, dedicated for users who cannot use the bundled CD to install the suite to the PC.
2. If you have done already Windows Registry for older Updater you can download just new EOS Utility (current 2.13.40) and run install,
or if it doesn’t work follow modifications that you need to do:
Open Notepad and copy/paste or write:
[HKEY_LOCAL_MACHINE\SOFTWARE\Wow6432Node\Canon\EOS Capture] [HKEY_LOCAL_MACHINE\SOFTWARE\Wow6432Node\Canon\EOSViewerUtility] [HKEY_LOCAL_MACHINE\SOFTWARE\Wow6432Node\Canon\ODSK]
You could insert only keys for software you want to install, rest is not needed, but no harm to put it all at once.
Pick to save as All Files from drop down (*.*). Save file as CanonPreInstall.reg, you can as well save as *.txt and then rename, be sure you have option to see extension turned on. Run it (double click or right mouse click “Merge”), confirm it !
After that you can run DPP update that you downloaded from official Canon site.
For older windows registry looks like this:
[HKEY_LOCAL_MACHINE\SOFTWARE\Canon\EOS Capture] [HKEY_LOCAL_MACHINE\SOFTWARE\Canon\EOSViewerUtility]
That is it, if you found any issues, problems, feel free to comment, thanks.